


The Blog-
Are you looking for a bit more joy in your life, in the world?
Welcome! You’ve come to the right spot.
Here we are all about creative problem solving, and creative doing. Knowing that when we eliminate friction, joy jumps right in to fill the void.
Whatever your personal style, you’ll find projects to tweak to make your own — and all without the friction caused by busting budgets!!!
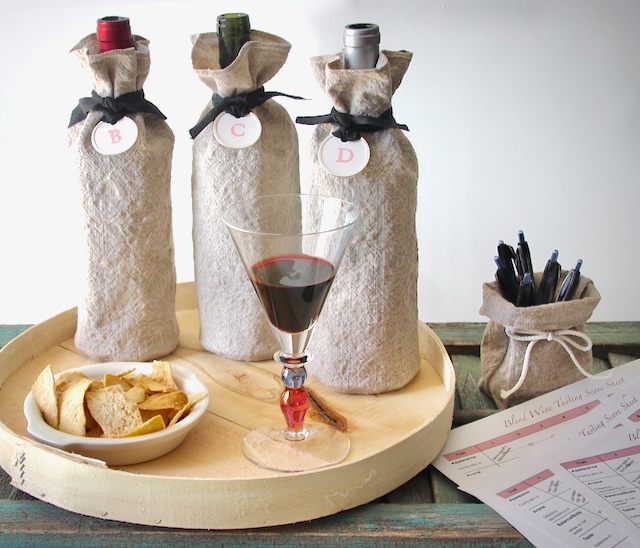
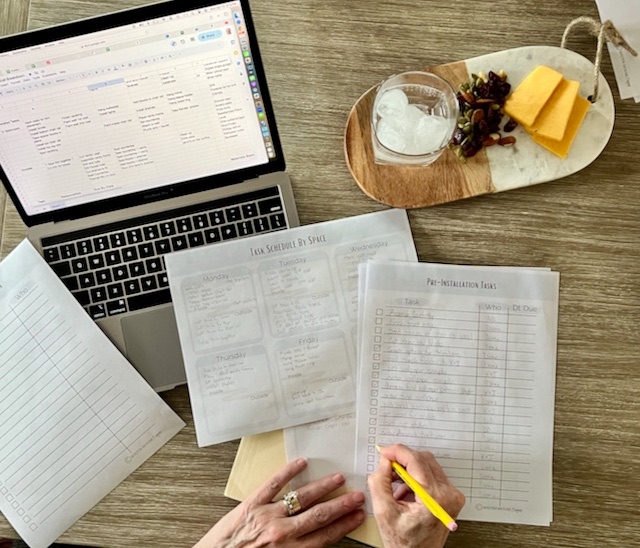
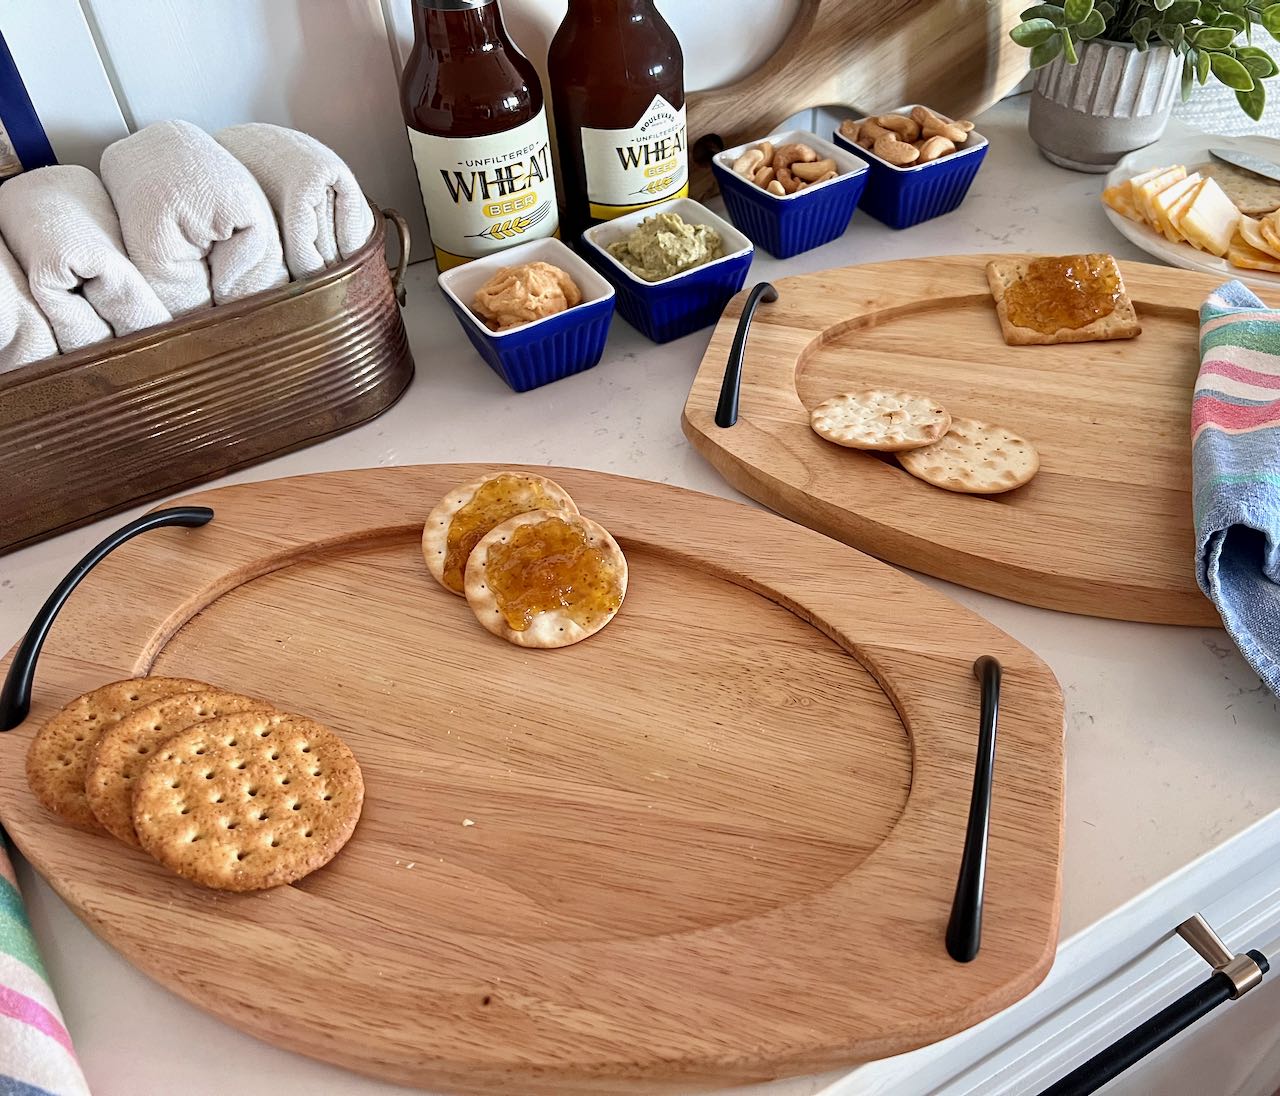
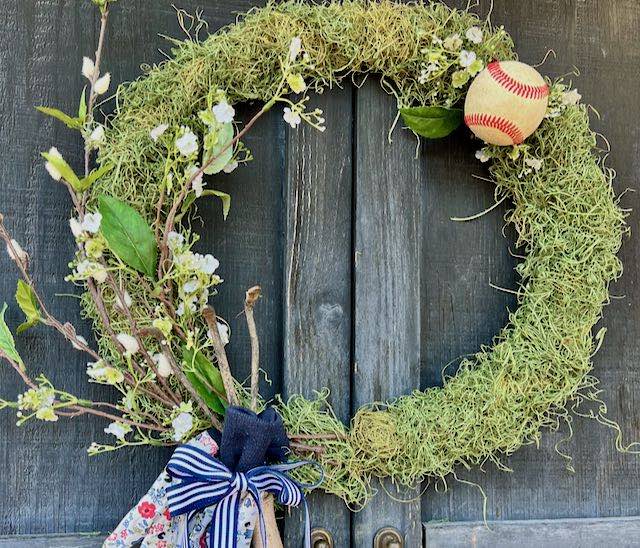
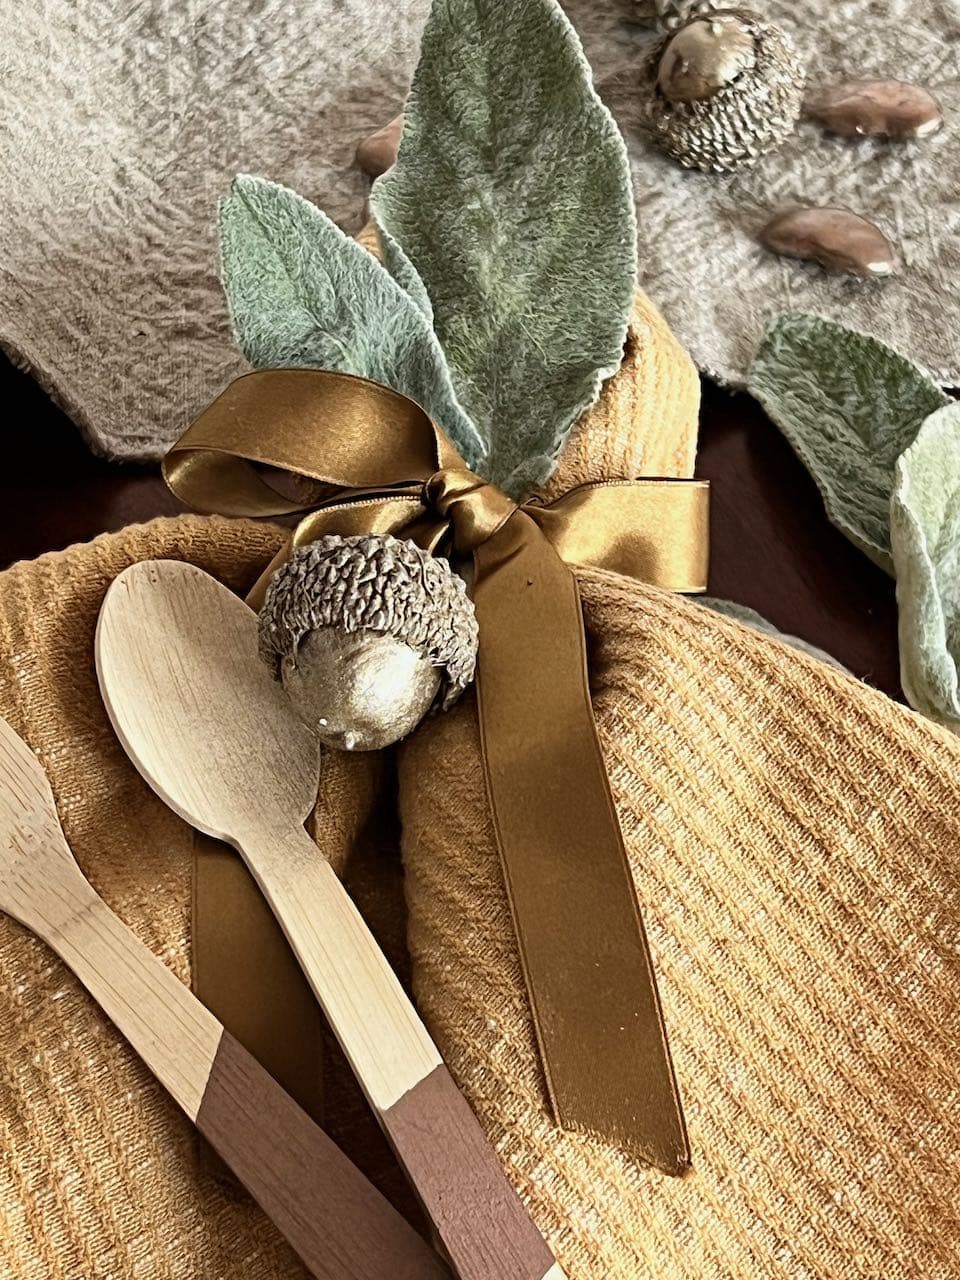
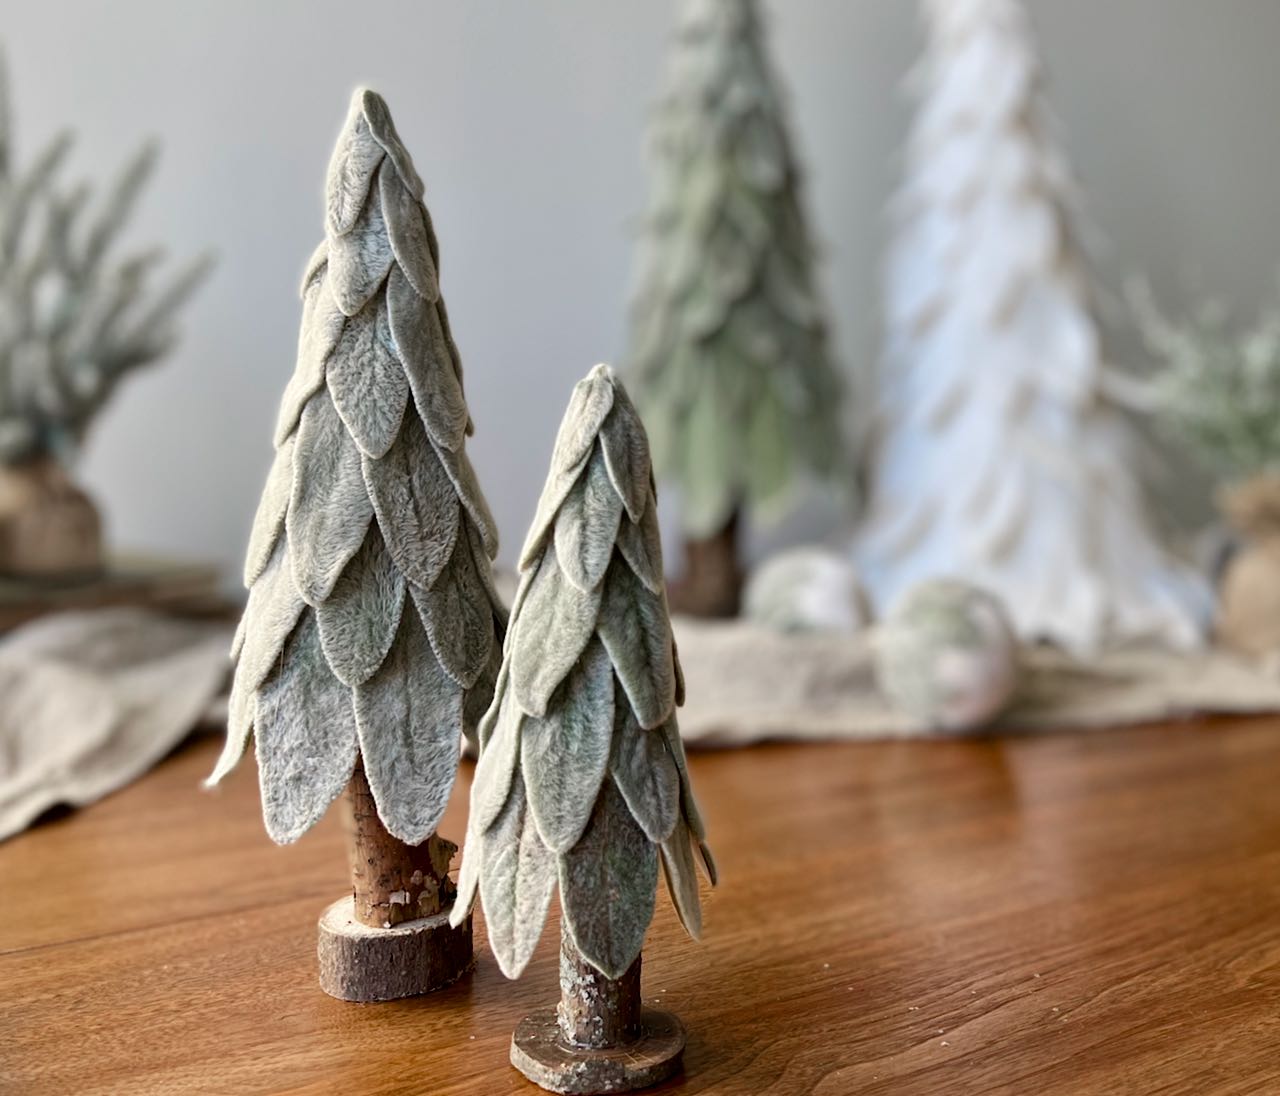
⬅️ ⬅️ ⬅️ On the BLOG side, we’re joyfully embracing Spring decor, entertaining and more.
I hope you find inspiration and empowerment to live a joy-filled and creative life,
Shop
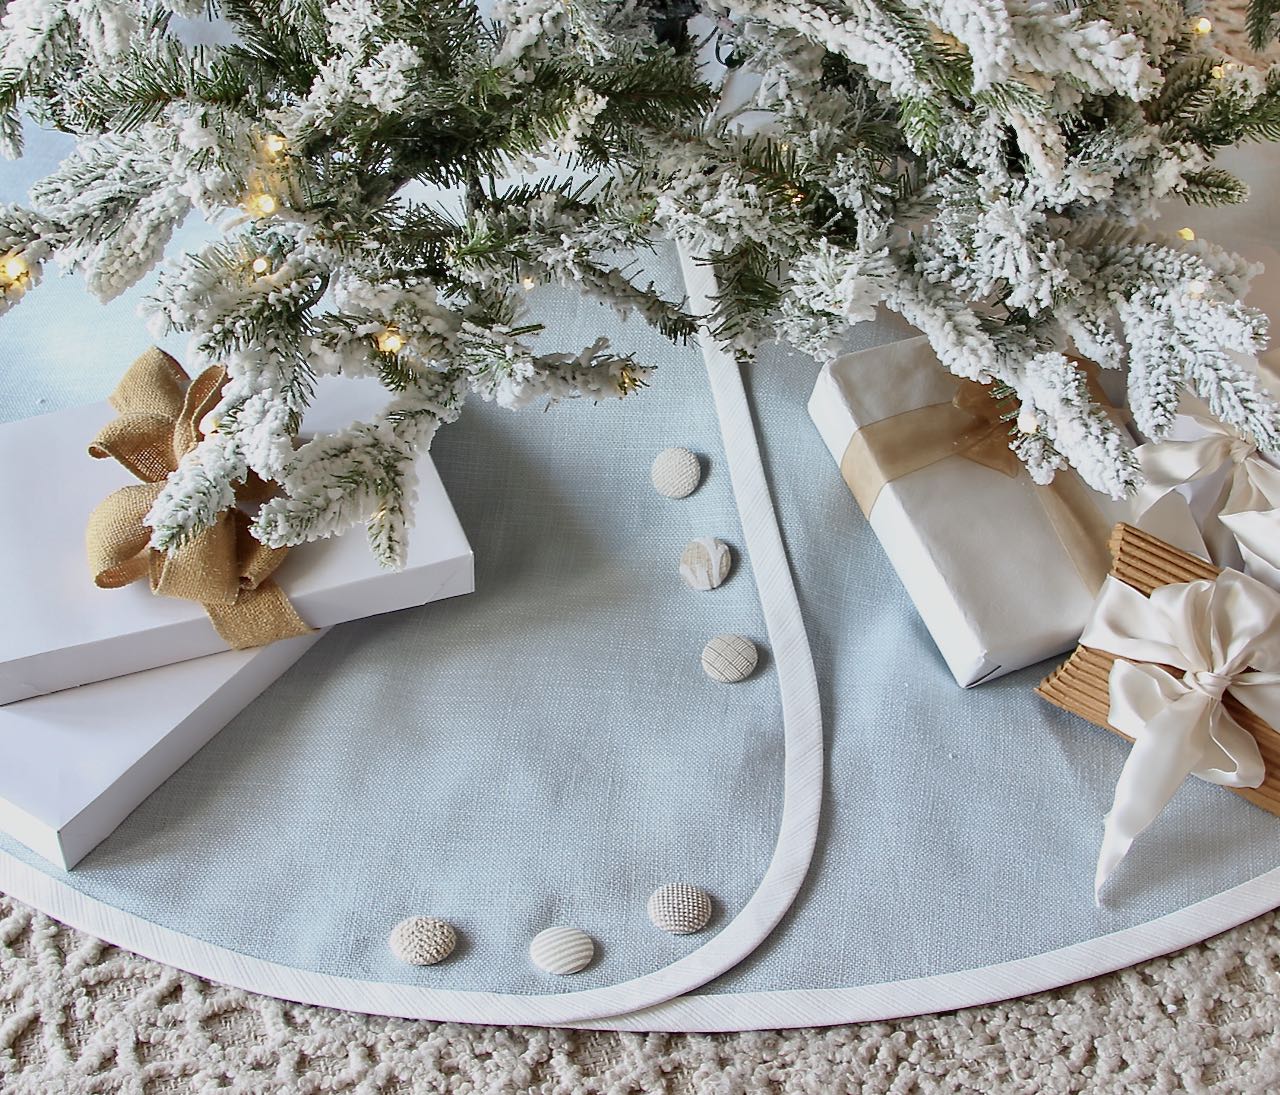
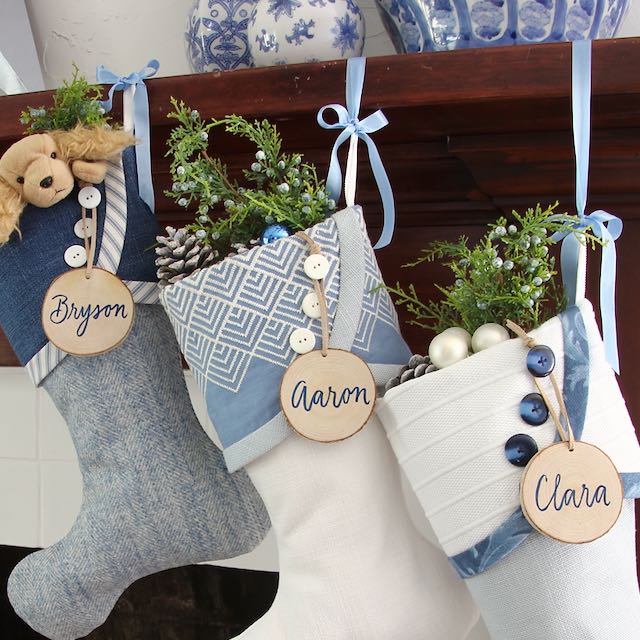
 Stocking the Pantry has evolved over the years. It started in 2010, when my Christmas stockings started to become “a thing”. I decided they needed to give goodness as well as goodies. Each stocking = $2.50 donated to feed the hungry via our local Feed America food pantry. And Jane, who creates all the gorgeous nametags I show in my photography donates .50 per name tag!!!
Stocking The Pantry 2023: 9,900 Meals
We are just about to cross over the 200,000 meal mark.
BLOG: Explore + Learn

I think; therefore I am.
I think creatively; therefore I am joyful.