
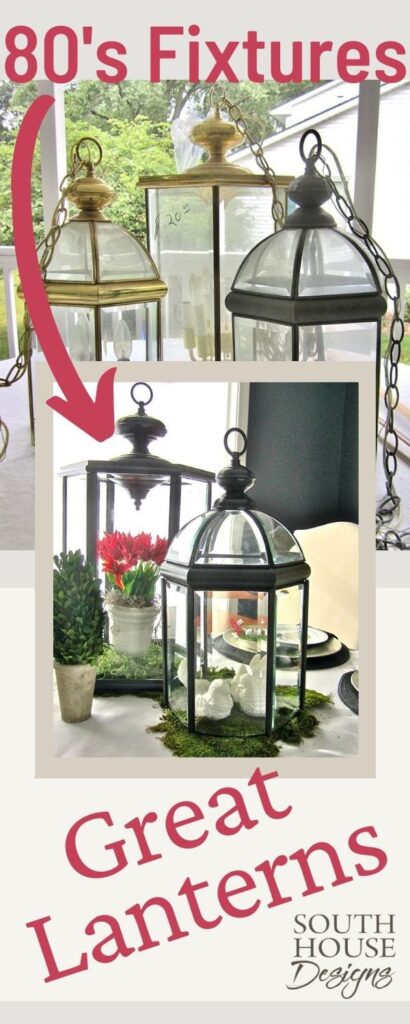
Lantern Love for
Every Season, Every Event
Every great decor accessory stash needs a few great foundation pieces.
Foundation pieces? (no, not Spanx!)
You know, those pieces that add the structure to build on.
And the best foundation pieces know no season, are neutral in color and style – but certainly NOT without style!

Lanterns are one of my ongoing foundation obsessions! And I am full of DIY lantern ideas!
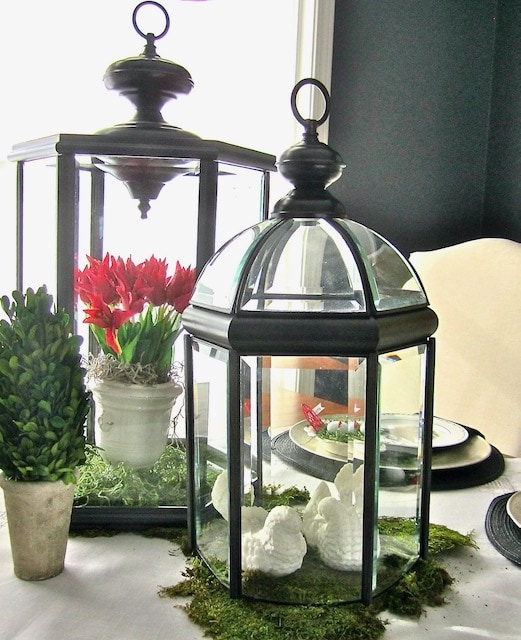
Just like a glass cloche, anything perched under/in a lantern immediately gains stature, and style. They’re the Jimmy Choo’s of decorating, without the toe pinching and the price tag! What’s not to love?
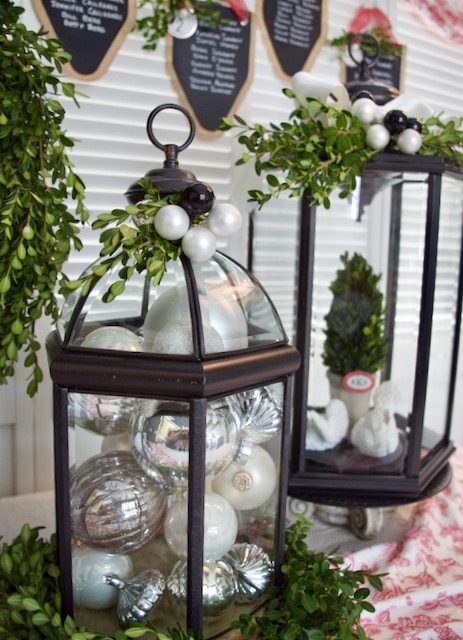
Lanterns move effortlessly from the porch, to the formal dining room sideboard, to an entry hall vignette, and across all seasons and holidays.
Lanterns get great decorating mileage for the price tag. But still, the large one’s I’ve been lusting over carry a price tag beyond my reach, like these and these.
What’s a girl to do when her head is full of DIY Lantern ideas? Run to your nearest Habitat ReStore, of course!
Ready? Set? Go!!! For your DIY Lantern:
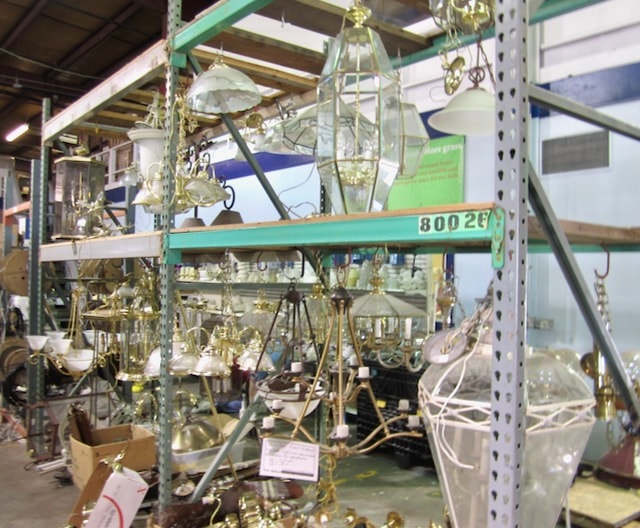
I’m betting each ReStore has a similar lighting department.
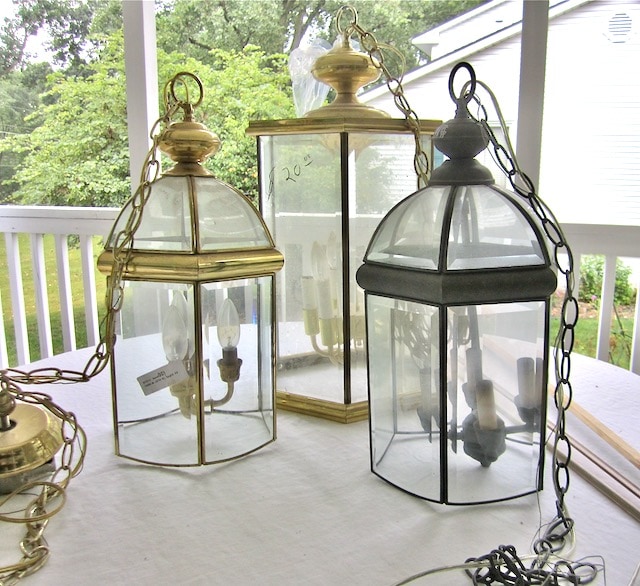
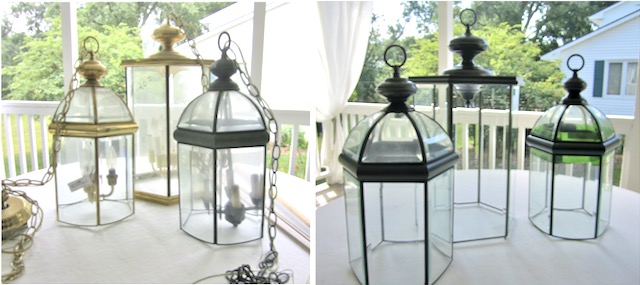
For a total of $40, these three 80’s “beauties” found their way home with me. And they are big, statement pieces. The large one is more than 2 feet tall and the two domed ones stand more than 18-inches tall. Add in $3 in trim and a can of spray paint and we are looking at $50 total out of pocket. Woot! Woot!
And Bonus: these have thick beveled glass panes versus the cheap, thin glass in most decor lanterns.
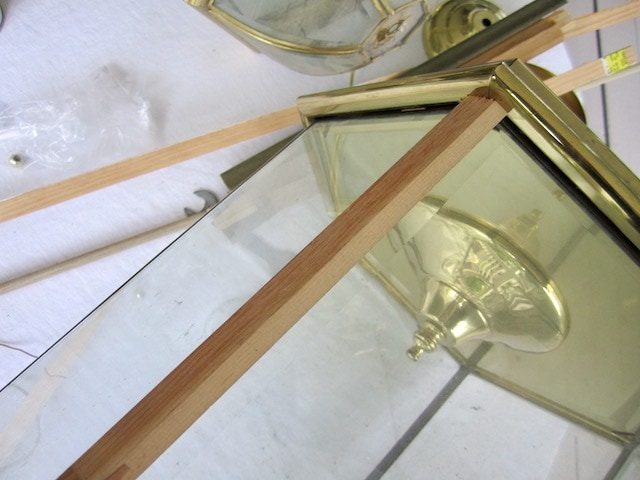
I wanted to beef up the spines to match the weight of the top and bottom and those gorgeous bevels. So across the way in the trim department at that same ReStore, I grabbed a few pieces of scrap trim for $1 each.

I love the light colored one in the middle because of it corner shape and how it will wrap around the glass panes. There was only one of that piece so I opted for it for the large fixture and found basic concave to use for the two smaller, more round fixtures.
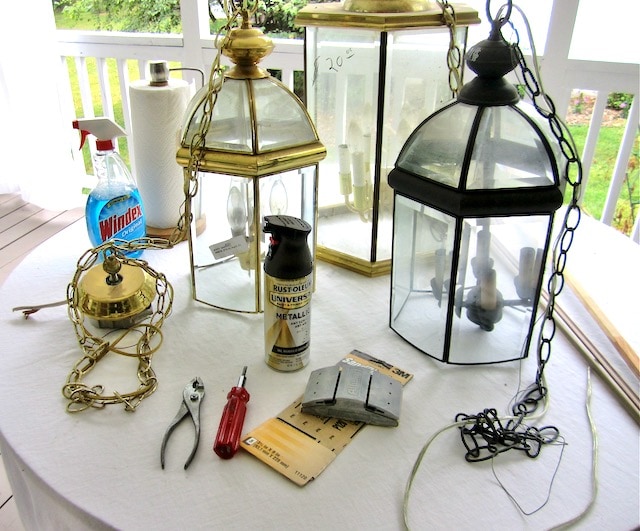
With just a few common tools, a can of spray paint and a bit under three hours time you can have a few great foundation pieces of your own.
Step one:
Technically, this step is optional, but the payoff is so rich, I would personally never want to skip it. I’ll even go so far as to call you out as a DIY wimp if you do. Just saying.
Start by holding your wood trim directly under the top of your fixture and mark for your cuts. Cut one, check to make sure it’s correct and then use it as you guide to cut all the remaining ones needed for that fixture. Repeat for each fixture.
Yes, if you look closely, I did this after the next step. But here’s where you get to learn from my experience. Do this FIRST, then deconstruct.
Step Two:
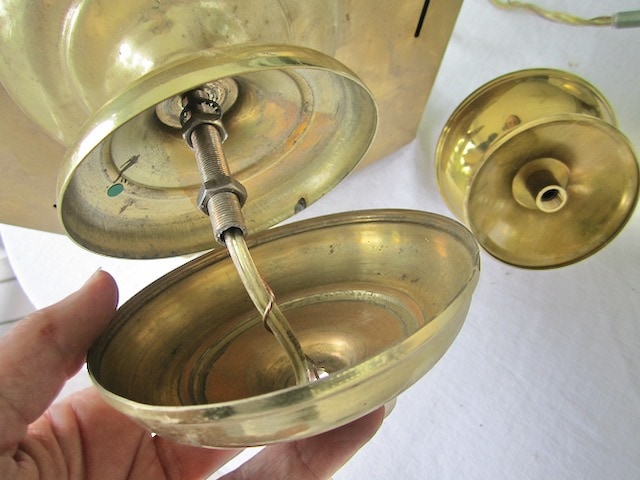
Deconstruct your “beauties” by simply unscrewing any decorative rings, top knots, finials, etc. that might be present at both the top and bottom of your fixtures. There will be a long threaded pipe that houses the electrical wiring and holds all the pieces of your fixture together.

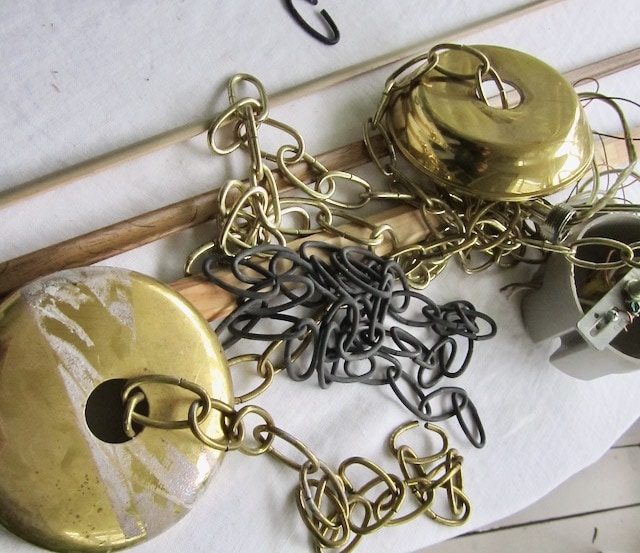
BIG HINT: Use your cell phone to take pictures of each fixture several times through the deconstruction. This will help you put all those pieces back together once you remove the wiring and probable chain from the top and the hanging chandelier from the bottom. You might also consider numbering them with masking tape from top to bottom.
Step Three:
Lightly sand the metal surfaces. Wipe clean.
Step Four:
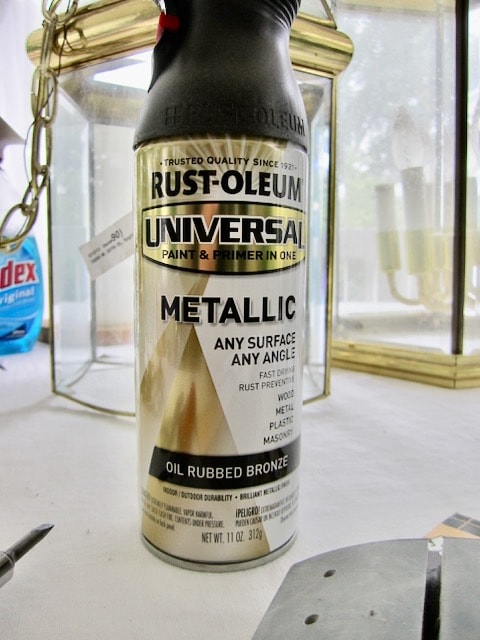
Paint! Let’s hear it for Oil Rubbed Bronze! And I’m really into Farmhouse Black lately too.
This is the most time-consuming step of the project because you will need to tape off all the glass, outside and inside! You want to get rid of all the shiny brass, inside included since it will show through the glass as you look through the lantern.
The top ring finials, all screws and decorative plates that would come off as well as the top plate and bottom rim of the large one were all sprayed loose.
Inside: For my large flat-topped lantern, I sprayed the inside of the top panel that was welded in place, by reaching up inside through the open bottom. For the two dome-topped ones, I cut a piece of waxed paper in approximate triangle shape and size of the glass dome pieces. I taped the inside of the dome leaving just the brass strips exposed and sprayed them from inside.
Outside: For my large one, I slipped a plastic bag over it and taped to just expose the lower edge, figuring that the wood trim will cover the vertical spines and the top would be covered with the separate decorative pieces that were sprayed as loose components. For the two dome-topped ones, because of the thick horizontal frames, I repeated the same wax paper and tape process with triangles for the domes and rectangles for the sides.

Two light coats later – exactly one can for my three lanterns and the transformation is well on its way.
Step Five:
Re-Assemble. Yes this is where those cell phone pics and numbering really pay off.
A bit of old-fashioned elbow grease and your favorite glass cleaner and those tired light fixtures are almost ready. This might have been the hardest step – mine were coated with years of grime.
Final Step to Your DIY Lanterns:
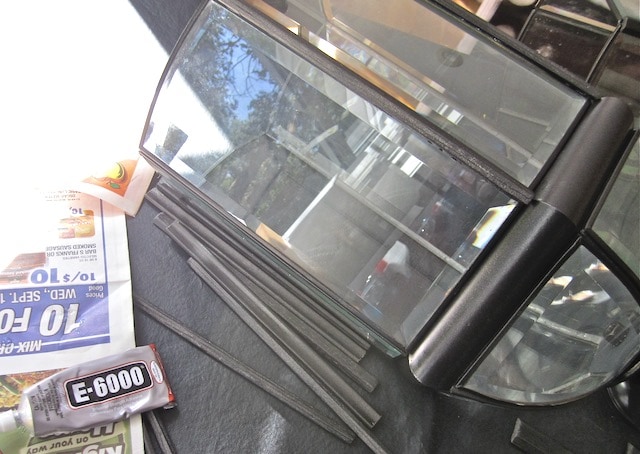
Now break out the glue. My favorite for this project? The E-6000, of course!
I laid the fixture on one side, ran a small line of glue down the inside of two of the the wood trim pieces and held them in place for about a minute or so. Then I gently rotated the fixture to expose two more edges, etc.
So From “Rejected” to “Resurrected” (or almost):
Keeping it Real: Somehow I got ahead of myself and snapped this “after” picture before reattaching the base to the large fella and removing the last of the painter’s tape from inside No. 3. So the Real After pictures are up next!

FULL DISCLOSURE(S): Yes, these lanterns do not have convenient little side doors that swing open or a solid base built in. For the price and the impressive scale, I can work around these little “blemishes”.
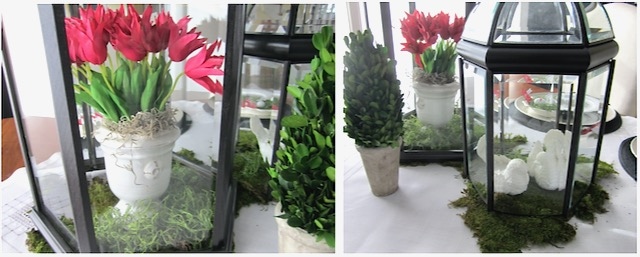
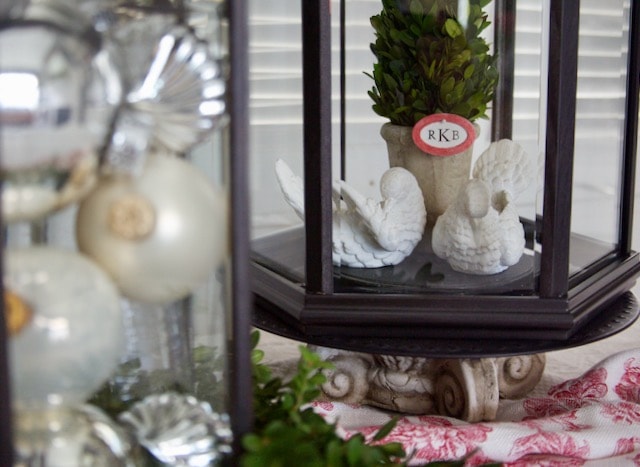
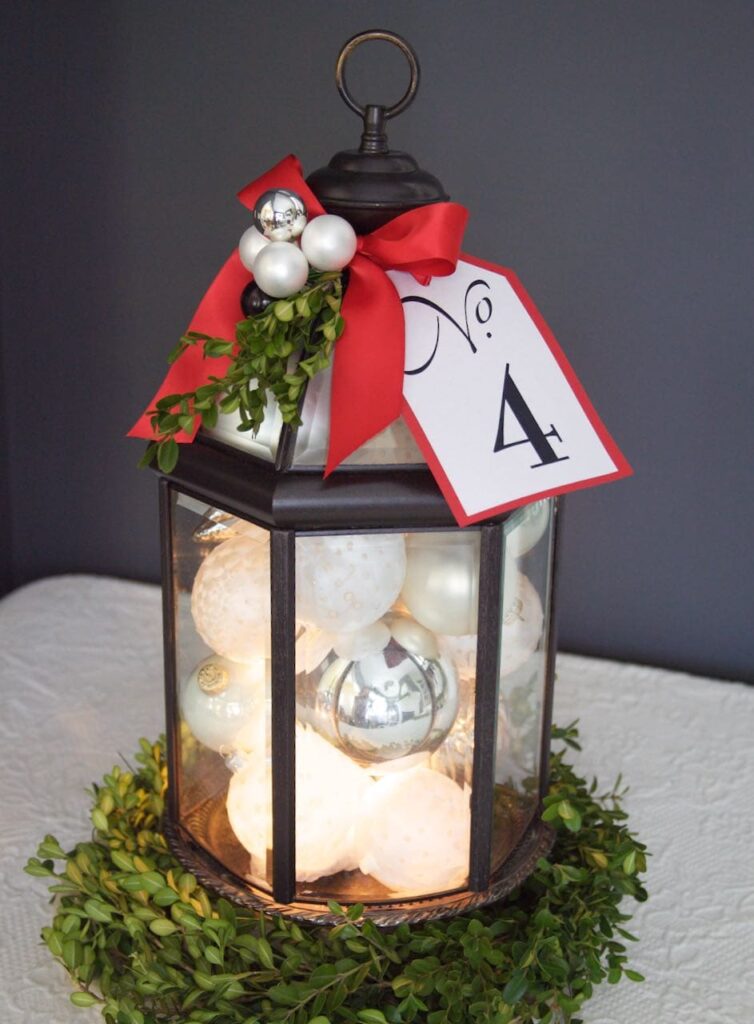
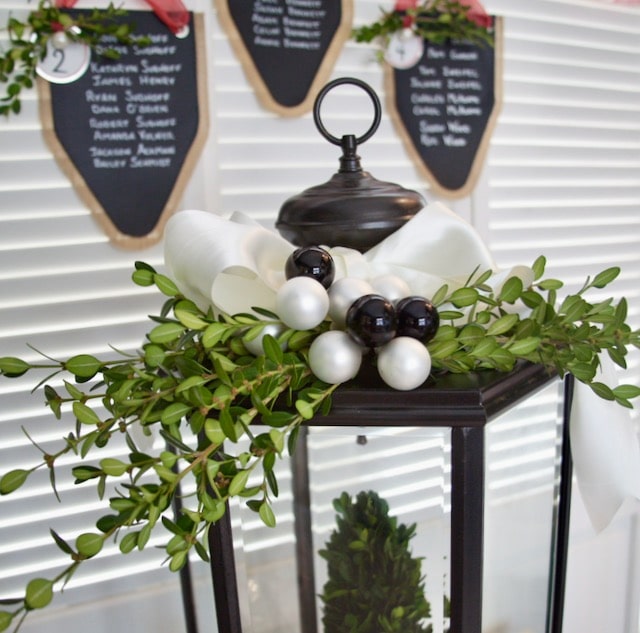
To fill with ornaments and pinecones, I held one upside down (aided by wedging between the couch cushions) and filled; then covered with a flat cookie sheet; gently flipped upright, set on a large decorative platter and slid the cookie sheet out.
And my “a bit under three hours” was split over 2 days to allow for plenty of drying time before I started man-handling them.
And now for more DIY Lantern Ideas
For Every Occasion, Season & Location:


")


Amazing project! I love lanterns and these look beautiful….especially with all of your displays. I saw your project while linking up my own at the Creating with the Stars link up…..Best of luck getting into the competition!
Thanks Jamie! It would be fun, but it’s great to see all the amazing projects out there.
great job!! The trim really added the extra oomph those lanterns needed :).
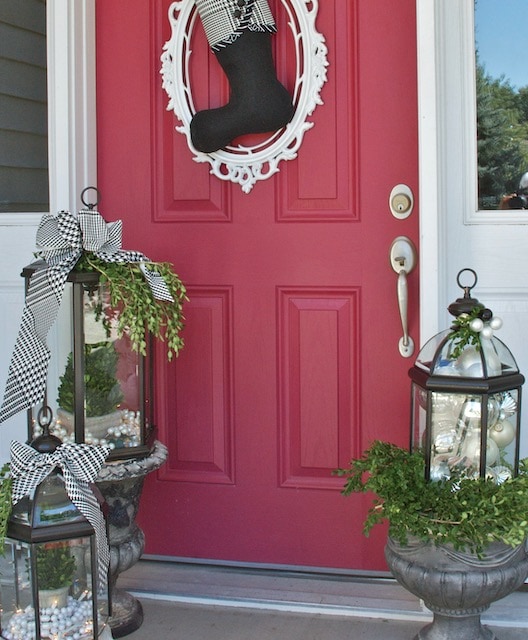
I love these lanterns, especially love the photo of them at front entry. They are beautiful. Thanks for the inspiration!
I LOVE this idea! Ya know, I’ve seen your post on Pinterest and clicked over, I knew I’d been here when I came over from creating with the stars! Great project friend xo