Behind the Scenes – Step-by-Step Pictorial Guide No. 1


IMG_0878SMALL

Welcome DIY Wedding Readers!

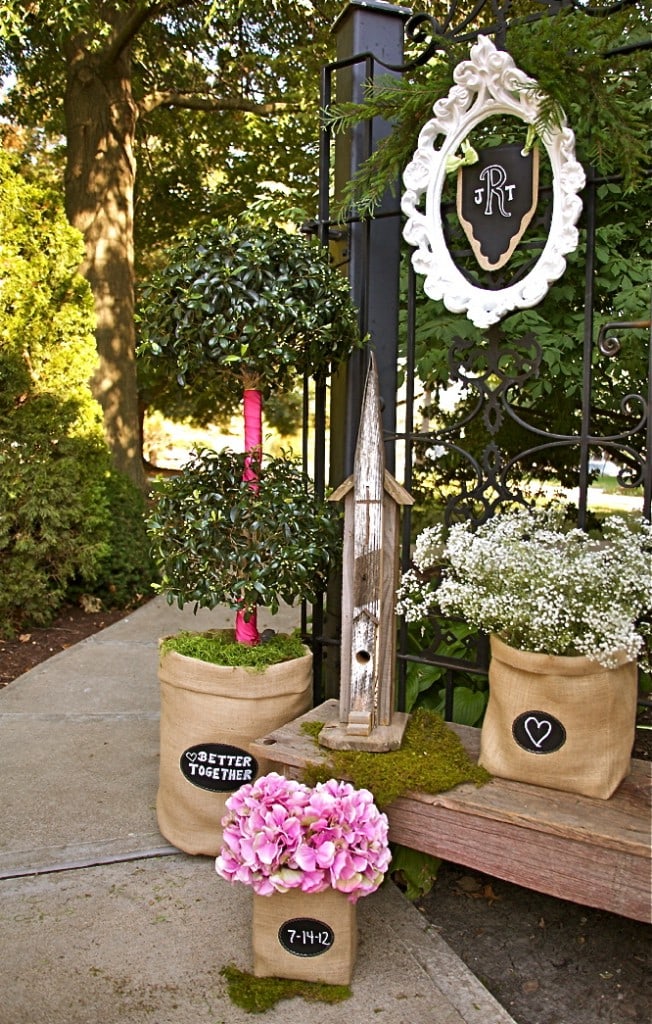
Follow along for a pictorial behind-the-scenes peek into the layering of our featured entrance.

Hints as you prepare for your big day:

If possible stage your entrance several days in advance.

Take plenty of props with you and then edit, edit and edit again on site until you achieve the perfect balance.

Set your camera and snap a final shot.

AND as you pack up the winning props, as you remove each item, snap another picture. You now will have your own tutorial for your Mom’s best friend, your aunt, your cousin or the event site personnel to recreate your entrance when it counts.


Here’s a peek into the building of this entrance:


0 Comments

Submit a Comment

Your email address will not be published. Required fields are marked *

Diane Sudhoff
key with a tags that reads "Subscribers" Next to the words "Free Printables Library"
close-up of hand holding a cell phone mock-up of an order page on top of a collage of products
Heading that Reads: Most Popular Organizing Posts

Click Image to

Jump to  Post

closeup of layers of velvet lined jewelry trays in a dresser drawer
shelves holding shoes attached to the legs of a repurposed piano bench
view of storage tubs on rollers on a wall-mounted rack close to the ceiling
bundles of faux flowers are stored on the side off a large painted HVAC system
painted clay hearts hanging from lichhen covered branches
Shamrock shaped meringue cookies on a plate and parchment covered baking sheet
closeup of throw pillows decorated with thick plush yarn in lovers' knots
Copyright © 2024 South House Designs